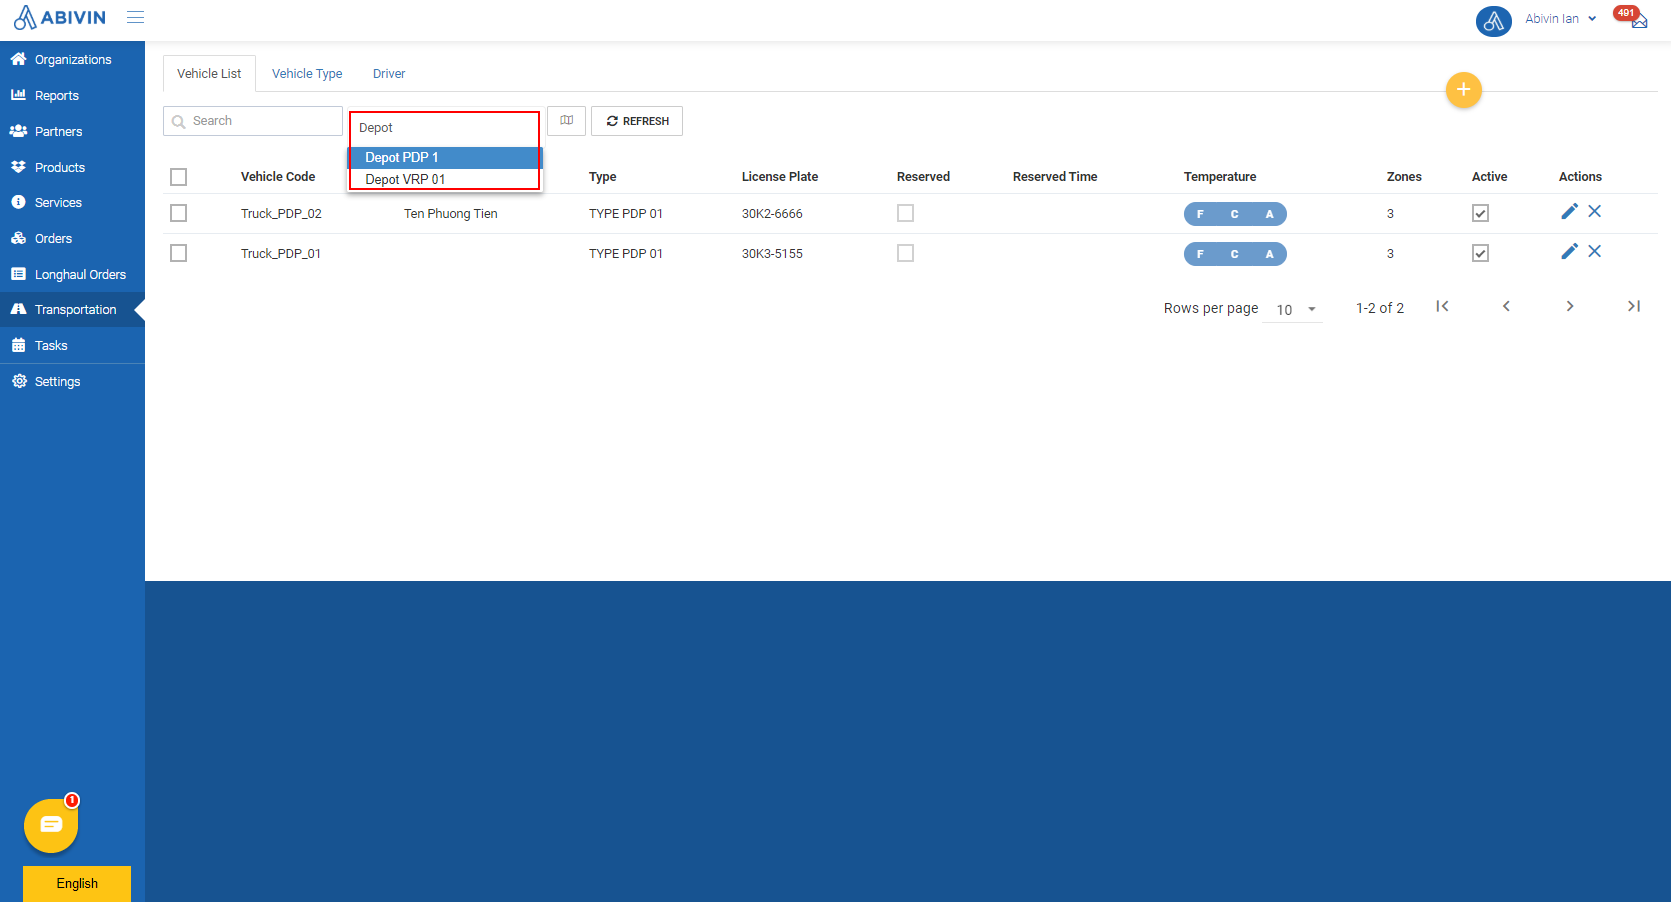
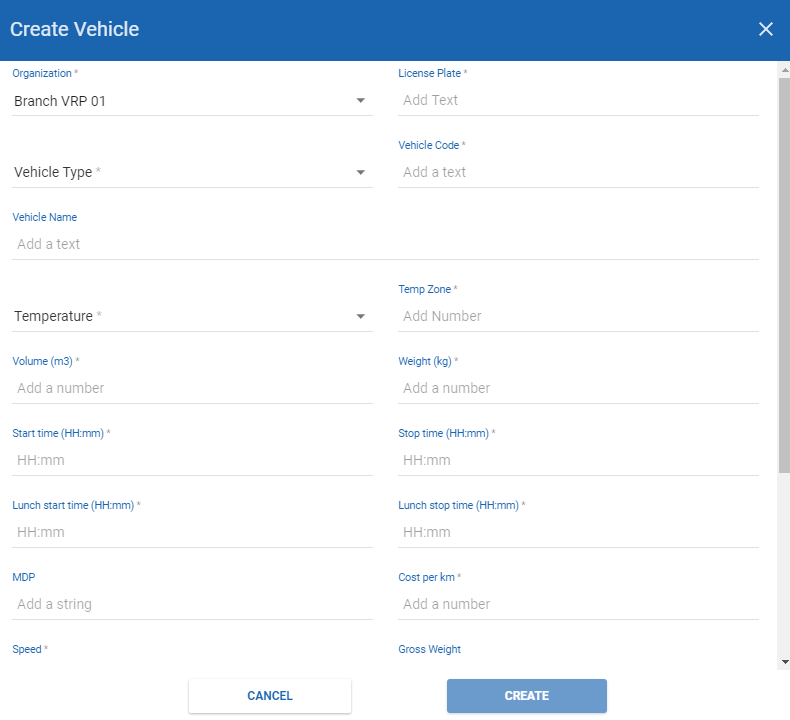
Organization (Web form); Organization Code (Excel template)
(Required) | 1. Description:
The Transporter which will manage the vehicle being created
2. Input rules:
Web form:
Click on this field. Input the Organization Name/Organization Code of the appropriate Transporter into the search bar, then select from the drop down menu
Excel template:
Copy the Organization Code of the appropriate Transporter on Web app, then paste into this cell
Note:
The Organization Name and Organization Code can be found under "Organization Name" and "Organization Code" columns in "Organizations > Organization List" tab
This information can not be changed once the vehicle has been created. Therefore, please pay extra attention |
| |
| |
Vehicle Type
(Web form + Excel template)
(Required) | 1. Description:
Vehicle type of the vehicle being created
2. Input rules:
Web form:
Click on the field then choose the suitable vehicle type from the drop down menu
Excel template:
Copy the code of the appropriate vehicle type on Web app, then paste into this cell
Note when using Excel template:
The vehicle type code can be found under "Type Code" column in "Transportation > Vehicle Type" tab |
| |
| |
Vehicle Name
(Web form + Excel template)
(Optional) | 1. Description:
A name assigned to the vehicle being created for easier management
2. Input rules:
Format: Free-form |
| |
| |
License Plate
(Web form + Excel template)
(Required) | 1. Description:
License Plate number of the vehicle being created
2. Input rules:
Format: Must not contain spaces
For example: "License Plate 01" is not acceptable; "License_Plate_01" is acceptable |
| |
| |
Vehicle Code
(Web form + Excel template)
(Required) | 1. Description:
Management code assigned to the vehicle being created
2. Input rules:
Maximum 15 characters
Letters and numbers are inputtable. Special characters (Not letters and numbers) will not be inputtable
Must not contain spaces |
| |
| |
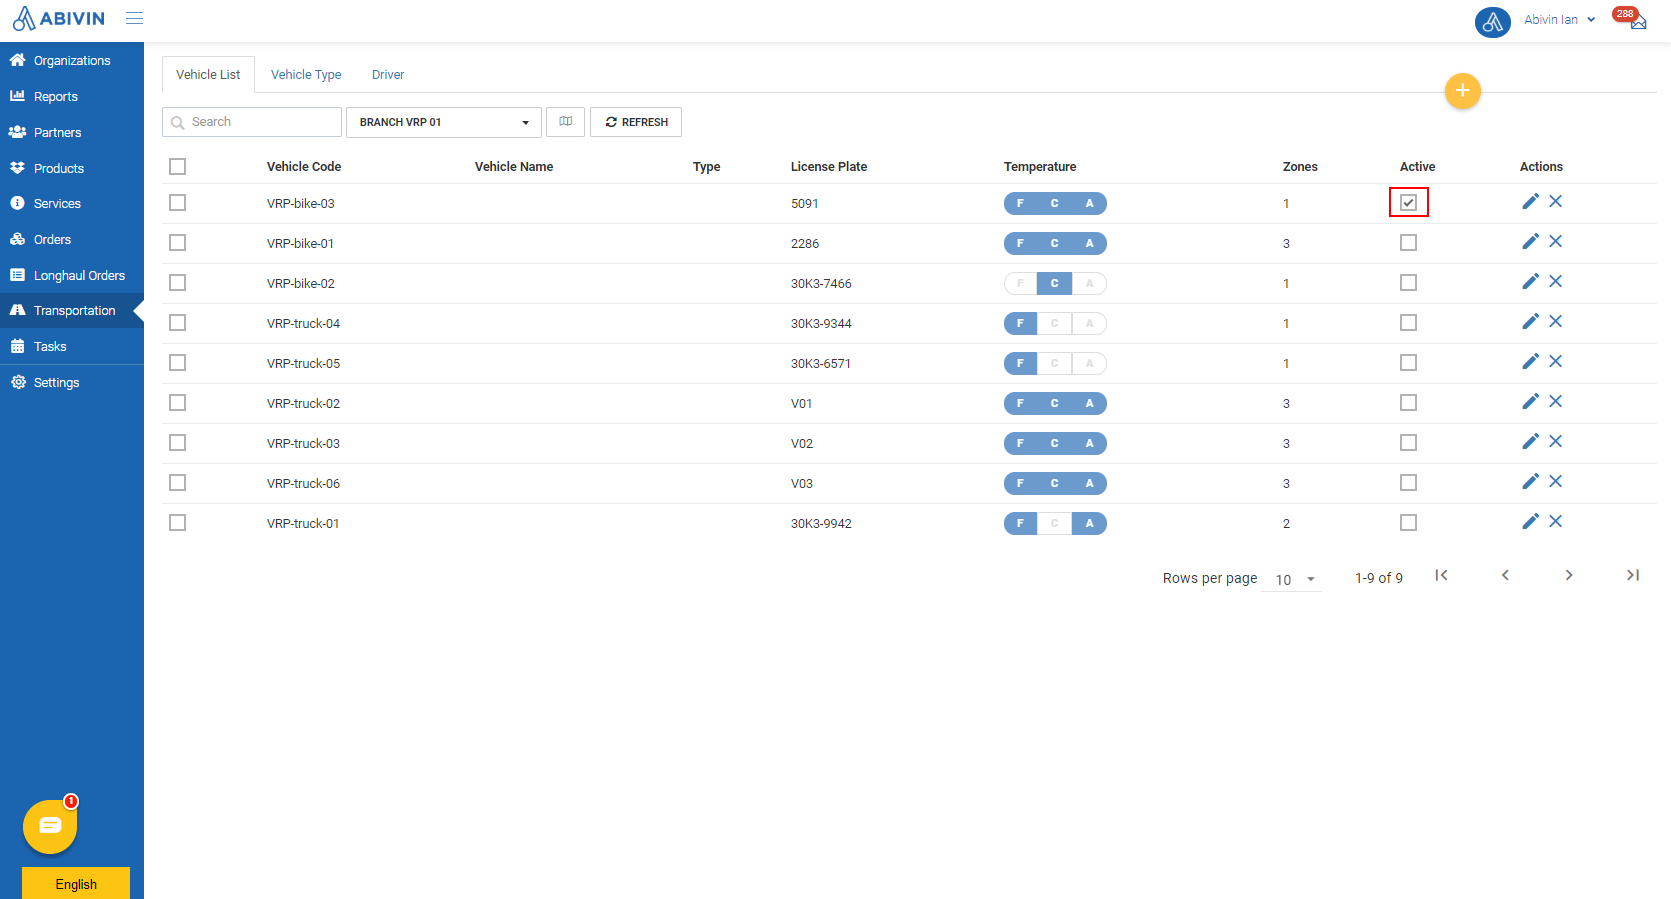
Temperature
(Web form + Excel template)
(Required) | This configurations is only effective in VRP - In-house Fleet Model
1. Description:
The number of product temperature levels supported by the vehicle being created
2. Input rules:
Web form:
Click on the field, tick on check boxes of all three temperature levels: Ambient, Chilled, Frozen
Excel template:
Input the following value into this cell: FAC |
| |
| |
Temp Zone
(Web form + Excel template)
(Required) | 1. Description:
The number of temperature zones available on the vehicle being created
2. Input rules:
Input the following value into this field/cell: 3 |
| |
| |
Volume (Web form); Capacity Volume (m3) (Excel template)
(Required) | 1. Description:
The maximum product capacity in cubic meter (m3) that the vehicle being created can carry
2. Input rules:
Input only the value in numbers. Do not input the unit
For example: The vehicle being created can carry maximum twelve cubic meters. Input the following value into this field/cell: 12 |
| |
| |
Weight (Web form); Capacity Weight (kg) (Excel template)
(Required) | 1. Description:
The maximum product capacity in kilograms (kg) that the vehicle being created can carry
2. Input rules:
Input only the value in numbers. Do not input the unit
For example: The vehicle being created can carry maximum three thousand kilograms. Input the following value into this field/cell: 3000 |
| |
| |
Cargo Area Length (m)
(Web form + Excel template)
(Required) | 1. Description:
The length of the cargo area of the vehicle being created
Unit: Metre (m)
2. Input rules:
Input only the value in numbers. Do not input the unit
If the value is a decimal, separate the whole number part and the fractional part by a decimal point. Do not use comma
For example: Length of the cargo area of the vehicle being created is four point five metres. Input the following value into this field/cell: 4.5 |
| |
| |
Cargo Area Width (m)
(Web form + Excel template)
(Required) | 1. Description:
The width of the cargo area of the vehicle being created
Unit: Metre (m)
2. Input rules:
Input only the value in numbers. Do not input the unit
If the value is a decimal, separate the whole number part and the fractional part by a decimal point. Do not use comma
For example: Width of the cargo area of the vehicle being created is four point five metres. Input the following value into this field/cell: 4.5 |
| |
| |
Cargo Area Height (m)
(Web form + Excel template)
(Required) | 1. Description:
The height of the cargo area of the vehicle being created
Unit: Metre (m)
2. Input rules:
Input only the value in numbers. Do not input the unit
If the value is a decimal, separate the whole number part and the fractional part by a decimal point. Do not use comma
For example: Height of the cargo area of the vehicle being created is four point five metres. Input the following value into this field/cell: 4.5 |
| |
| |
Start time; Stop time
(Web form + Excel template)
(Required) | 1. Description:
The official times of day when the vehicle being created starts and stops working
2. Input rules:
Format: hh:mm (24 hour)
Input only the value in numbers. Do not input the unit For example: The vehicle starts working at 7:30 A.M and stops working at 8:30 P.M. Input the following values into the "Start time" and "Stop time" fields/cells correspondingly: 07:30; 20:30 |
| |
| |
Lunch start time; Lunch stop time
(Web form + Excel template)
(Required) | Note: This information field is only effective in VRP model
1. Description:
The official times of day when the driver of the vehicle being created starts and stops the lunch break
2. Input rules:
Format: hh:mm (24 hour)
Input only the value in numbers. Do not input the unit
For example: The lunch break starts at 12:30 A.M and stops at 1:30 P.M. Input the following values into the "Lunch start time" and "Lunch stop time" fields/cells correspondingly: 12:30; 13:30 |
| |
| |
Speed
(Web form + Excel template)
(Required) | 1. Description:
Movement speed of the vehicle being created
Unit: Kilometer per hour (km/h)
2. Input rules:
Input only the value in numbers. Do not input the unit
For example: The vehicle runs at thirty kilometers per hour. Input the following value into this field/cell: 30 |
| |
| |
Cost per km
(Web form + Excel template)
(Required) | 1. Description:
The cost for the vehicle being created per one kilometer during a delivery route
2. Input rules:
Input only the value in numbers. Do not input the unit
For example: The vehicle costs two thousand dollars to operate per one kilometer. Input the following value into this field/cell: 2000 |
| |
| |
Fixed Cost
(Web form + Excel template)
(Required) | 1. Description:
The fixed cost of the vehicle being created during a delivery route, not depending on the route length
2. Input rules:
Input only the value in numbers. Do not input the unit
For example: The Fixed cost of the vehicle is two thousand dollars. Input the following value into this field/cell: 2000 |
| |
| |
Default driver
(Web form + Excel template)
(Optional) | 1. Description:
The default driver of the vehicle being created
2. Input rules:
Web form:
Click on this field. Select the default driver from the drop down menu
Excel template:
Copy the username of the appropriate driver on Web app, then paste into this cell
Note:
Username of the driver can be found under "Username" column in "Organizations > Organization List" tab
Only the drivers who are configured to have the same Vehicle Type with the vehicle being created can be chosen |
| |
| |
Active
(Web form) | 1. Description:
The active status of the vehicle being created
2. Input rules:
By default, the status of the vehicle is Active, represented by this icon:
To turn the status into Inactive, click on that icon |
| |
| |
Draught
(Excel template)
(Optional) | This information field is only used in Freight transport - Barge model
Input the following value into this cell: 0 |
